
Table of Contents
- Introduction
- Quick Read: Straightforward Sticker Removal
- Understanding Stickers on Glass
- DIY Solutions for Sticker Removal
- Commercial Products: A Helping Hand
- Special Considerations for Removing Stickers from Car Windows
- Expert Tips and Tricks
- Conclusion
Introduction
Ever found yourself squinting at the stubborn remnants of a pricesticker on your car window, wondering if it’s worth considering the glass a lost cause? Or perhaps you’ve battled the adhesive beast that latched onto your favorite glass coffee table, armed with nothing but your fingernails and a waning patience. Fear not, for you are not alone in this sticky situation. The quest to remove stickers from glass surfaces—be it your car’s windshield or the living room window—has troubled many a soul, leading to countless hours of scraping, peeling, and, let’s be honest, a fair bit of grumbling.
But what if I told you that banishing those pesky stickers could be less of an epic saga and more of a breezy chapter in your DIY journey? That’s right, with a few simple hacks and the right approach, you can achieve a clean, sticker-free glass surface without risking damage or resorting to harsh chemicals. Whether you’re dealing with the aftermath of a passionate decorating phase or the stubborn legacy of a price tag, this blog post is your ticket to a clear view. So grab a cup of your preferred beverage, and let’s dive into the surprisingly entertaining world of sticker removal. Trust me, it’s going to be a glass-ic adventure.
Quick Read: Straightforward Sticker Removal
In a rush or just not in the mood for a sticker-removal saga? Here’s the quick and effective way to get that sticker off your glass surface:
- Warm Soapy Water: Start with the gentlest method. Soak a cloth or paper towel in warm, soapy water and place it over the sticker for a few minutes. The warmth and moisture will help loosen the adhesive.
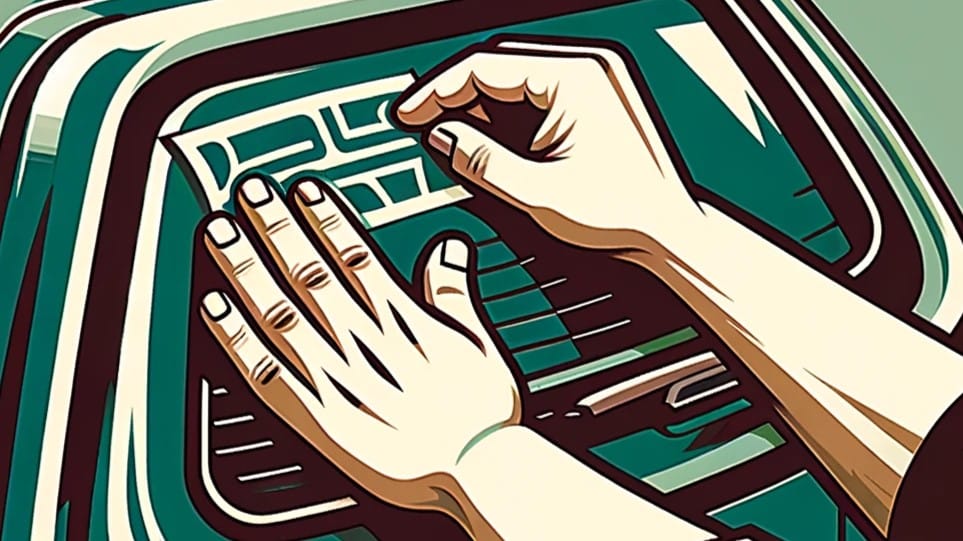
- Plastic Card Trick: Once the sticker is softened, use a plastic card (like a credit card or a loyalty card) to gently scrape off the sticker. The flexibility of the card helps remove the sticker without scratching the glass.
- Adhesive Cleaner: For any residue left behind, apply a small amount of adhesive remover on a clean cloth and gently rub it over the area. Products designed for glass are ideal as they remove residue without damage.
- Clean and Polish: Once the sticker and adhesive are fully removed, wipe down the glass with a clean, damp cloth to remove any cleaning product residue. Finish off with a glass cleaner for a sparkling finish.
There you have it—a straightforward method to reclaim your glass surfaces from the clutches of sticker tyranny. If you’re up for more detailed strategies or curious about alternative methods, keep reading. We’re about to get into the nitty-gritty of sticker removal, from DIY hacks to the wonders of commercial products.
Understanding Stickers on Glass
Before we dive into the nitty-gritty of sticker removal, let’s take a moment to understand our adversary. Stickers on glass can range from decorative decals that once spelled “fun” but now just scream “frustration,” to pricestickers that leave behind a tacky testament to your latest shopping spree. The challenge with glass surfaces—be it the sleek exterior of your car or the sheer face of your windows—is their susceptibility to scratches and the stubbornness of adhesive residues.
Why, you might ask, do stickers seem to form a near-permanent bond with glass? It’s all about the adhesive. Stickers are designed to stick around (pun intended), and when applied to smooth, non-porous surfaces like glass, the lack of air pockets and texture allows the adhesive to fully embrace its clingy nature.
DIY Solutions for Sticker Removal
Now that we’re familiar with the enemy, it’s time to arm ourselves with knowledge—and perhaps a few household items. Here are some DIY solutions that can help you remove those pesky stickers without a trip to the store:
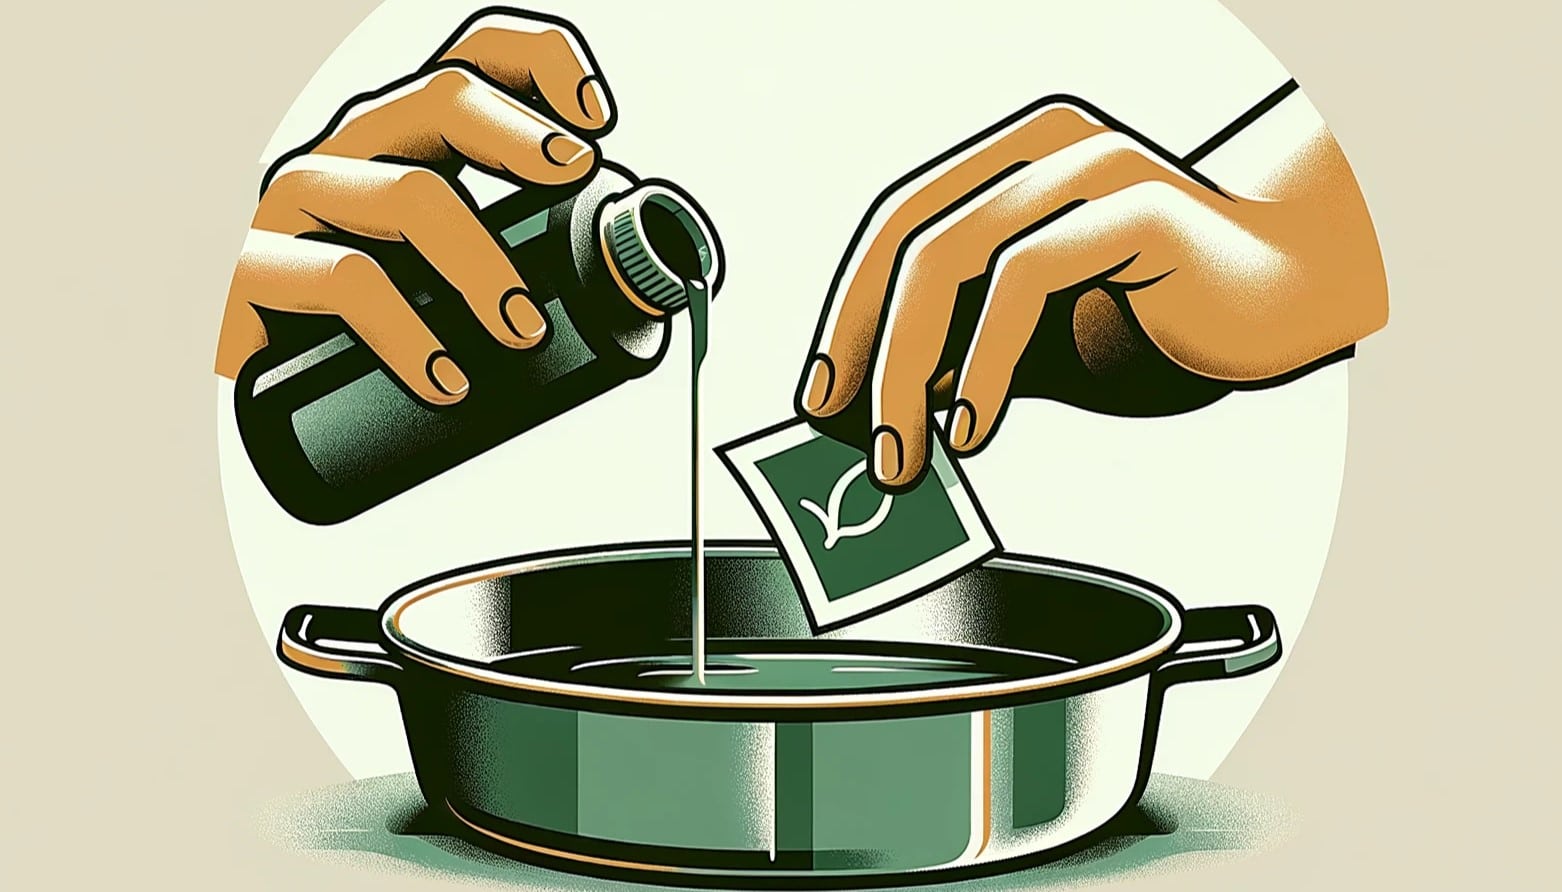
- Vinegar Solution: Mix equal parts of white vinegar and water in a spray bottle. Spray it generously on the sticker and let it sit for 5-10 minutes. The acidity of the vinegar helps dissolve the adhesive.
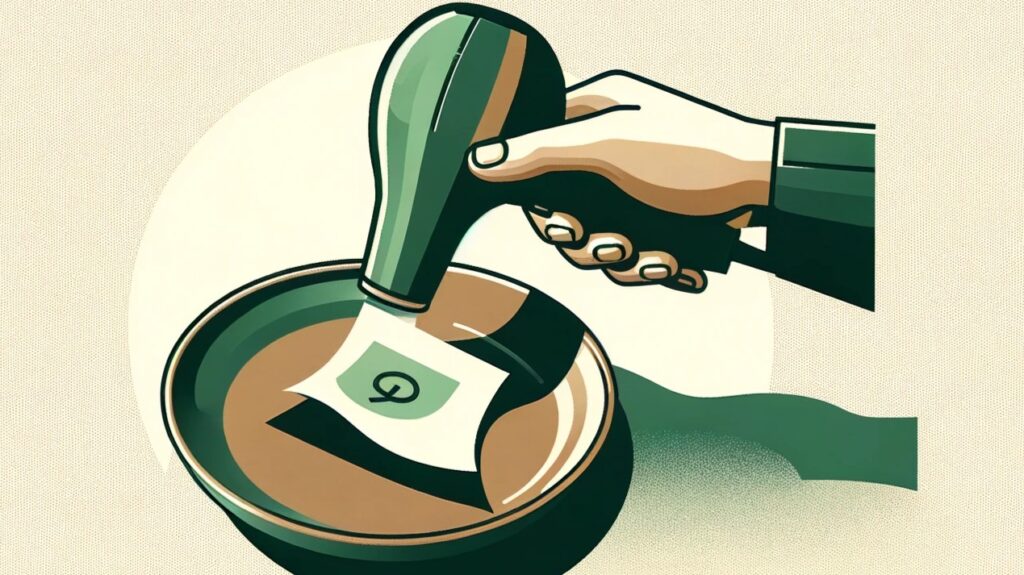
- Baking Soda Paste: Combine baking soda with cooking oil (vegetable or coconut oil works wonders) to form a paste. Apply this paste to the sticker and leave it for about 30 minutes. The baking soda acts as a gentle abrasive, while the oil softens the adhesive.
- WD-40 or Cooking Oil: For those more stubborn stickers, a quick spray of WD-40 or a dab of cooking oil can work miracles. Apply, let it sit, and then gently scrape away with a plastic card. Remember to clean the glass thoroughly afterward to remove any oily residue.
Each of these methods has its time and place, depending on the sticker’s stubbornness and your household supplies. Experimenting with these can also add a bit of alchemy to your cleaning routines—just remember, the goal is a clean, scratch-free surface.
Commercial Products: A Helping Hand
Sometimes, despite our best DIY efforts, a sticker’s resilience calls for reinforcements. Here are a few commercial products that can make the removal process smoother:
- Goo Gone: A favorite in the sticker battle, Goo Gone is specially formulated to tackle adhesives without damaging the surface underneath.
- Adhesive Remover Sprays: Various brands offer sprays designed to dissolve sticker residue quickly and efficiently. Look for ones that are safe for use on glass.
- Glass Cleaning Wipes with Adhesive Removal Properties: For a quick and easy solution, these wipes can be a dual-purpose tool, cleaning your glass and fighting adhesive at the same time.
When using commercial products, always follow the instructions on the label and test on a small, inconspicuous area first to ensure there’s no damage to your glass.
Special Considerations for Removing Stickers from Car Windows
Removing stickers from car windows requires a bit more finesse compared to standard glass surfaces. Cars, after all, are not just vehicles but extensions of our personalities—and treating them with care is paramount. Whether you’re dealing with parking permits, registration stickers, or the remnants of a road trip collection, here’s how to ensure a clean removal without damaging your car’s windows or tint.
Assess the Situation
First, identify the type of sticker and its location. Is it on the exterior or interior side of the window? Is your window tinted, and if so, is the tint applied on the inside? These factors will dictate your approach, as the last thing you want is to damage the tint or the glass itself.
Tools and Materials
- A plastic razor blade or a plastic card
- Soapy water or a window cleaner designed for cars
- A spray bottle
- A clean, lint-free cloth or microfiber towel
- A hairdryer or heat gun (optional)
Step-by-Step Guide
- Loosen with Heat (Optional): If the sticker is particularly stubborn, gently applying heat with a hairdryer or heat gun can soften the adhesive. Keep the heat source moving to avoid concentrating heat in one spot, especially important for tinted windows.
- Soapy Water Application: Mix soapy water in a spray bottle and generously apply it to the sticker area. This solution will help soften the adhesive, making the sticker easier to remove. Allow it to soak for a few minutes.
- Gentle Scraping: Using a plastic razor blade or the edge of a plastic card, begin to gently scrape the sticker away from the glass. Start at the edges and work your way inwards, taking care not to scratch the glass or the tint.
- Wipe Away Residue: Once the sticker is removed, there may be some adhesive residue left behind. Spray more soapy water or a dedicated adhesive remover designed for cars on the residue. Use a clean, lint-free cloth to gently wipe the area clean.
- Final Cleaning: After all residue has been removed, give the window one last clean with a window cleaner suitable for automotive glass. This will ensure a streak-free finish and restore clarity to your window.
Additional Tips
- Avoid Metal Tools: Always opt for plastic tools over metal to prevent scratching the glass or damaging window tint.
- Patience Pays Off: Take your time, especially with older stickers that may have become more adhered over time. Rushing the process can lead to damage.
- Consult Professional Help: If you’re unsure or uncomfortable with removing a sticker from a tinted window, consider seeking professional help. Many car washes and auto detailers offer this service and have the tools and expertise to do it safely.
Removing stickers from car windows doesn’t have to be a daunting task. With the right tools and techniques, you can keep your car looking its best, free from the visual clutter of unwanted stickers. Remember, the key to success is patience and a gentle touch, ensuring that your car’s windows remain pristine and clear.
Expert Tips and Tricks
To wrap up our sticker-removal journey, here are a few parting tips from the pros:
- Patience is Key: Whether you’re using a DIY method or a commercial product, give it time to work. Rushing can lead to scratches or damage.
- Gentle Does It: Always use a plastic card or a soft cloth to scrape off stickers. Metal tools are a no-go as they can easily scratch glass.
- Clean Up After: Removing the sticker is half the battle. Ensuring your glass is clean and residue-free afterward is just as important for that sparkling finish.
Conclusion
The battle against stickers on glass doesn’t have to be a dreaded chore. With the right approach and some handy tips, it can be an easy, if not entirely enjoyable, task. Whether you’re armed with vinegar and baking soda or the latest commercial adhesive remover, the key to victory lies in patience and the gentle touch. So next time you’re faced with a glass surface marred by stickers, remember this guide—and may your windows and mirrors shine clear and free.
We’ve covered a lot of ground today, from DIY hacks to the wonders of commercial products, all aimed at helping you tackle one of life’s small but stubborn challenges. Do you have any sticker-removal stories or tips of your own? Share them in the comments below and let’s continue the conversation.