Table of Contents
- Introduction
- Quick Read: DIY Shoe Rack Overview
- Understanding Your Space and Needs
- Design Ideas and Inspiration
- Step-by-Step Guide to Building Your Shoe Rack
- Decorating and Personalizing Your Shoe Rack
- Maintenance and Organization Tips
- Conclusion
- Call to Action
Introduction
Welcome to our cozy corner of creativity and practicality, where today we’re tackling a common household dilemma: shoe organization. If you’ve ever found yourself tripping over a scattered collection of shoes or struggling to find a pair in a cluttered closet, you’re not alone. The good news is, with a little DIY magic, you can create a stylish and functional shoe rack that not only organizes your shoes but also adds a personal touch to your home. And the best part? You don’t need to be a DIY expert to pull it off. This post is designed with complete novices in mind, guiding you through the process of building a budget-friendly, space-saving shoe rack that will make your life a little easier and your closet a lot tidier.
Quick Read: DIY Shoe Rack Overview
Creating a DIY shoe rack is not just about saving space; it’s about taking control of your living area, injecting a bit of creativity, and enjoying the satisfaction that comes with building something with your own hands. Here’s a quick guide to get you started:
Materials You’ll Need:
- Wood (preferably pine or cedar for their durability and ease of work)
- Screws or nails
- Wood glue (optional for extra stability)
- Sandpaper
- Paint or wood stain (optional for finishing)
Tools Required:
- Saw (hand saw or power saw)
- Drill
- Screwdriver
- Measuring tape
- Level
Simple Steps to Your Shoe Rack:
- Measure Your Space: Decide where your shoe rack will go and how large it can be.
- Design Your Rack: Sketch a simple design, considering how many pairs of shoes you need to store. Opt for vertical shelves to save floor space.
- Cut Your Wood: Cut the wood according to your measurements. Remember, safety first—wear protective gear.
- Assemble the Rack: Start by building the frame, then add the shelves. Use screws or nails and wood glue for a secure build.
- Finish It Up: Sand any rough edges for a smooth finish. Paint or stain your rack to match your decor, or leave it natural for a rustic look.
- Organize Your Shoes: Once dry, place your rack in its designated spot and organize your shoes by type or frequency of use.
And voila! You’ve created not just a piece of furniture, but a solution to the ever-present shoe dilemma. Ready to dive deeper into each step? Keep reading as we break down the process, offering tips and tricks to make your DIY shoe rack a project you’ll be proud of.
Understanding Your Space and Needs
Before you start cutting wood or drilling holes, take a moment to assess your needs and the space you have available. Measure the area in your closet—or wherever you plan to place the shoe rack—carefully. Consider not just the width and height but also the depth. Think about your shoe collection: How many pairs do you need to store? Do you have boots or high-tops that might require more height between shelves? Planning is crucial; it ensures that your shoe rack won’t just fit in your space but will serve its purpose effectively.
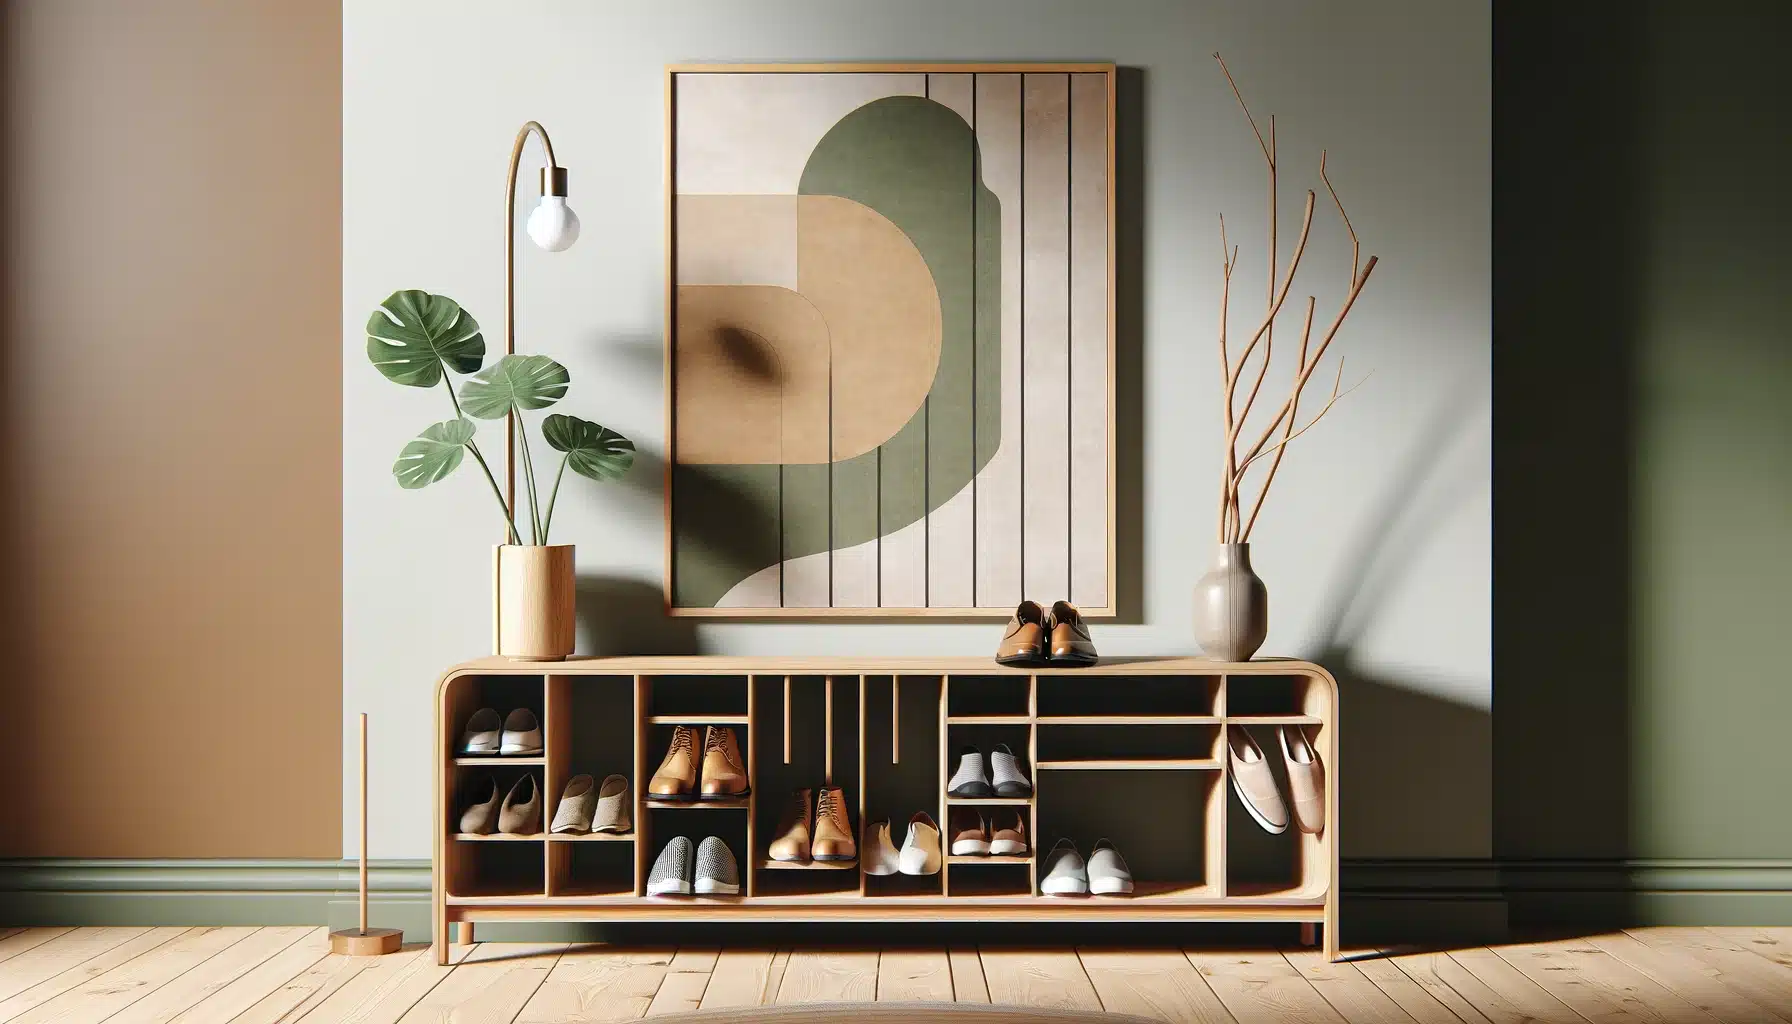
Design Ideas and Inspiration
Designing your shoe rack can be as simple or as elaborate as you like. Here are a few ideas to get you started:
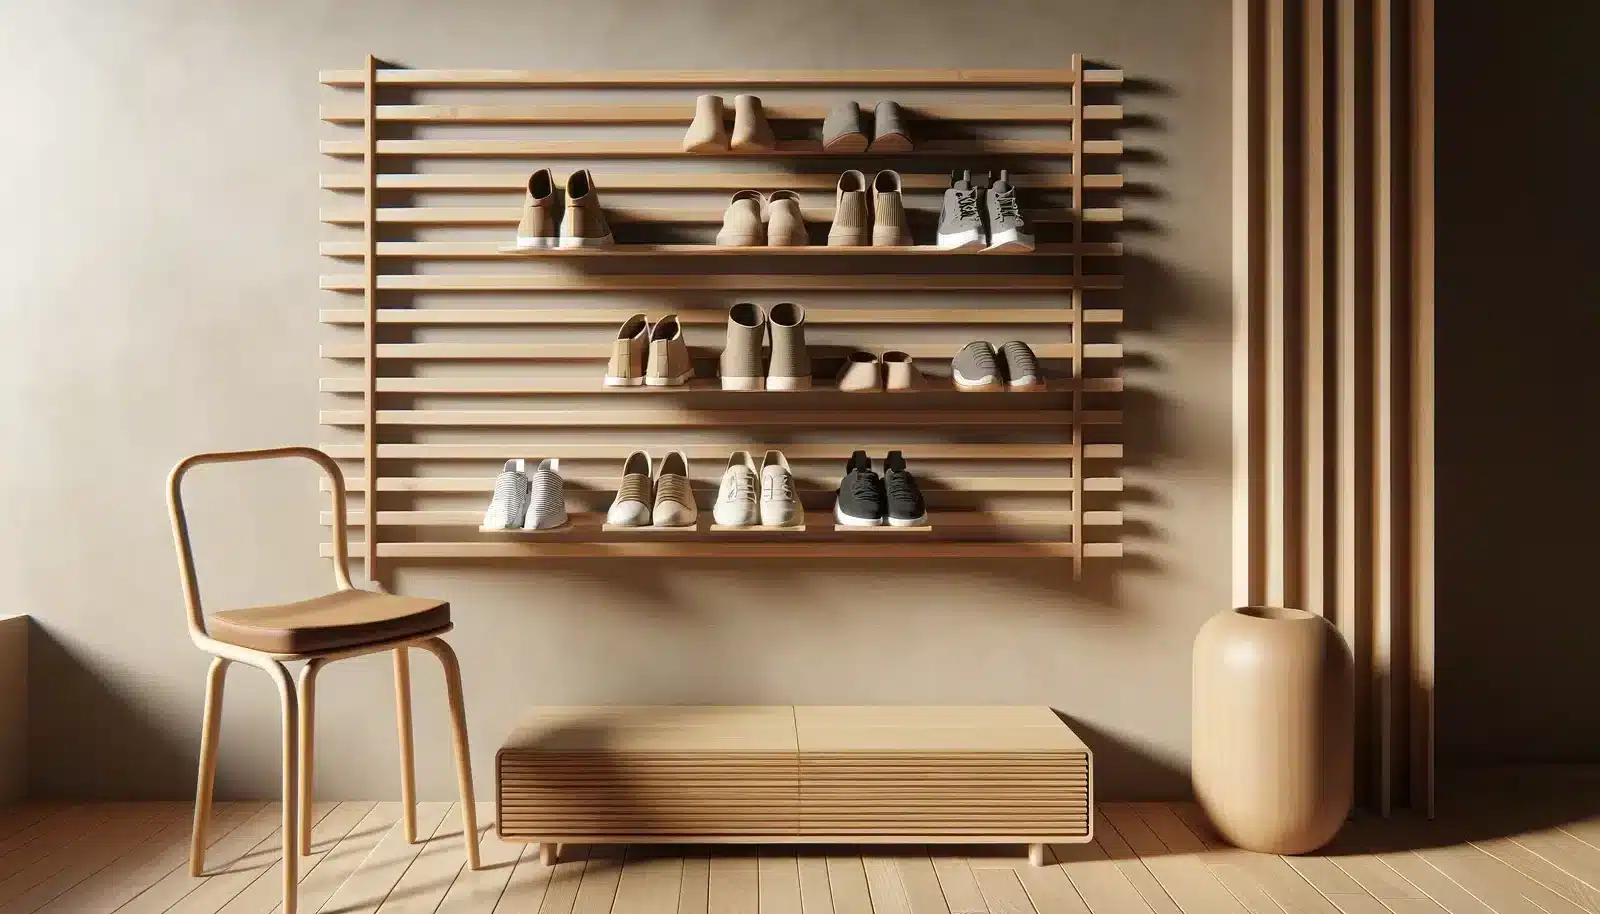
- Vertical Shoe Rack: Perfect for tight spaces. Its tall, slim profile takes up minimal floor space.
- Ladder-Style Rack: Leaning against the wall, this design adds a decorative touch while keeping shoes off the ground.
- Under-Bench Storage: If you have a bit more space, a bench with shoe storage underneath offers a practical and aesthetic solution.
Remember, the design should not only reflect your personal style but also address your storage needs. Don’t be afraid to get creative!
Step-by-Step Guide to Building Your Shoe Rack
1. Selecting Materials
Choose wood that’s easy to work with and durable. Pine is a great option for beginners due to its affordability and workability. Cedar is another excellent choice, especially if you prefer a wood with natural resistance to moisture and odors.
2. Cutting the Wood
Based on your design, cut the wood to size. If you’re not comfortable using power tools, most hardware stores will cut the wood for you at a minimal cost. Ensure all pieces are cut precisely to the same length for a uniform look and stable structure.
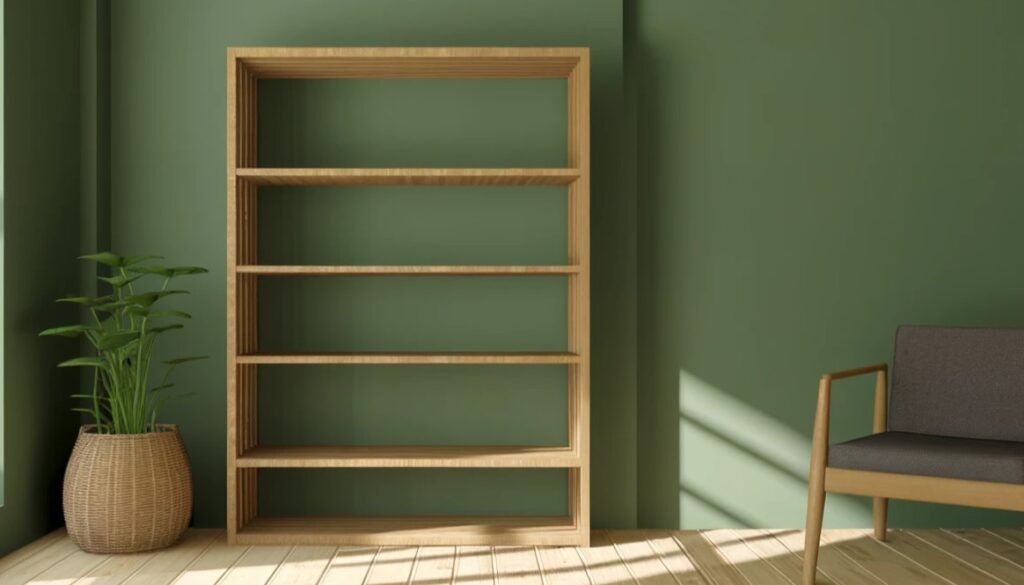
3. Assembling the Frame
Begin by assembling the outer frame. Use screws or nails to secure the corners, ensuring they are square. A level can help verify that everything is perfectly aligned.
4. Adding the Shelves
Measure and mark where each shelf will go. Attach the shelves to the frame, checking that each one is level before securing it. For added stability, you can apply wood glue before screwing the shelves in place.
5. Sanding and Finishing
Once assembled, sand the shoe rack to remove any rough edges or splinters. Apply paint, stain, or a clear finish to protect the wood and complement your home’s decor. Let it dry completely before using it.
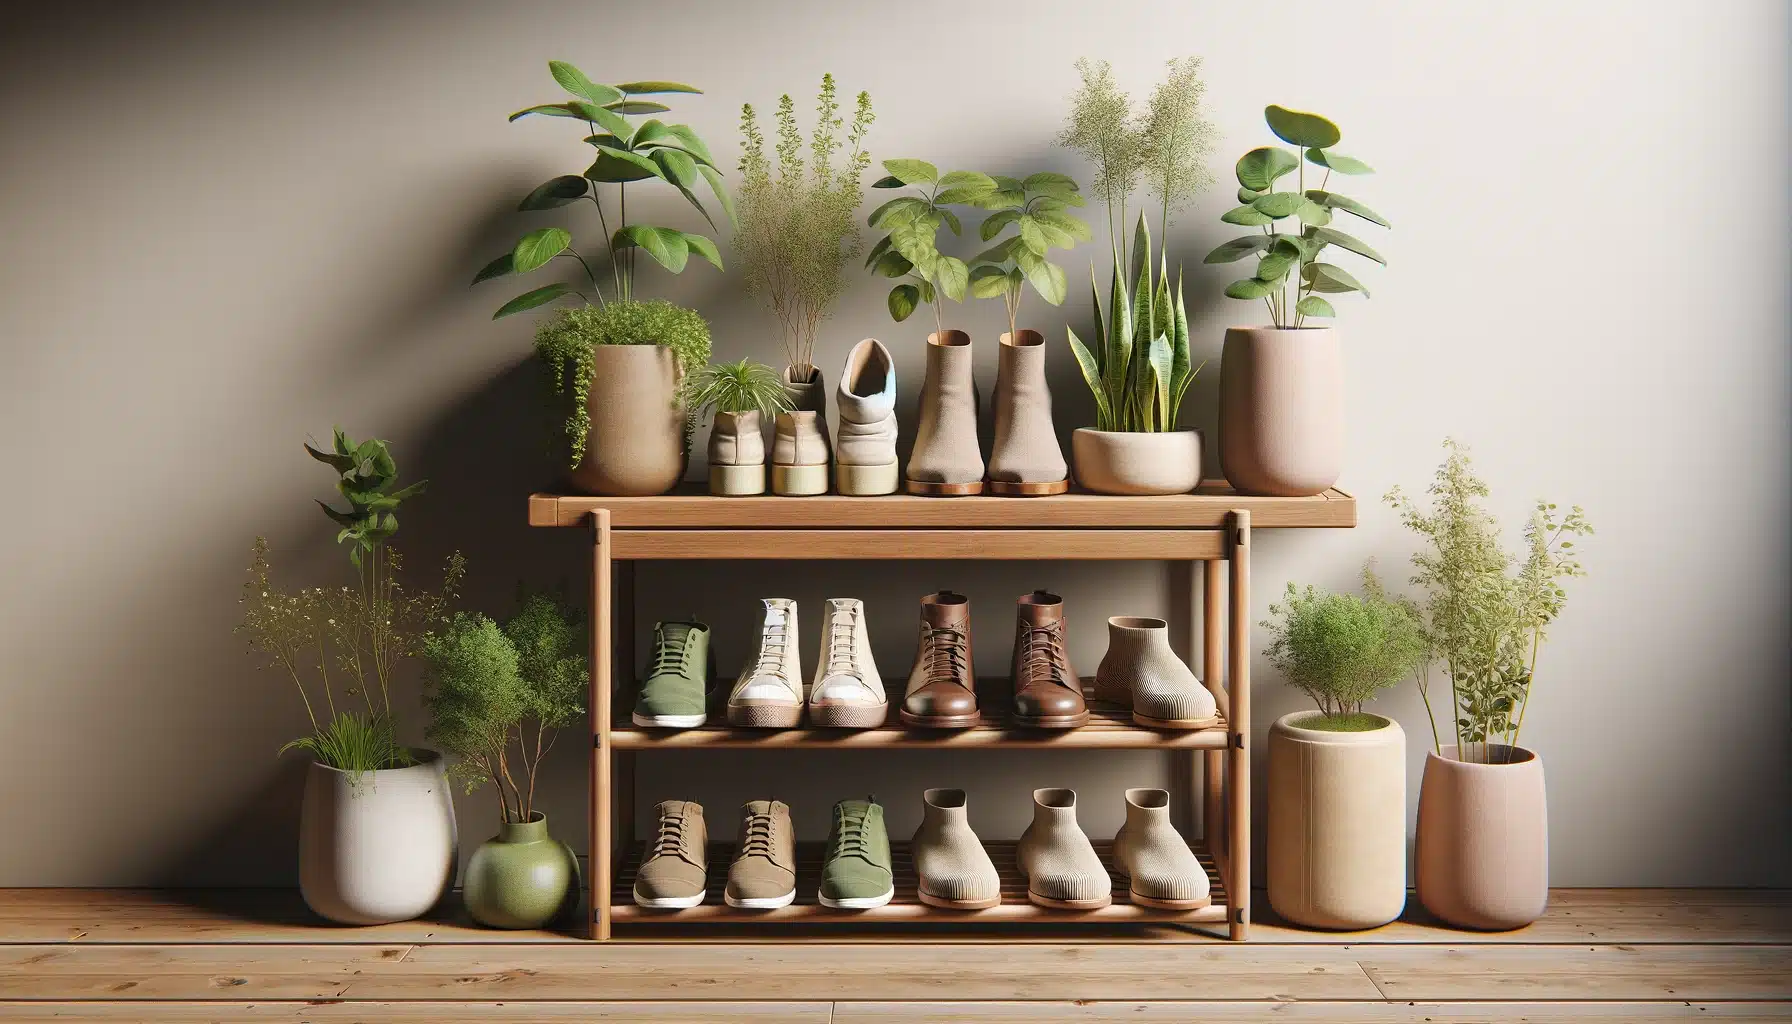
Decorating and Personalizing Your Shoe Rack
Your DIY shoe rack is also a blank canvas for your creativity. Here are a few ideas to personalize it:

- Stenciling: Add patterns or motifs.
- Decoupage: Apply decorative paper or fabric for a unique look.
- Hardware: Add decorative knobs or hooks for hanging accessories.
Maintenance and Organization Tips
To keep your shoe rack looking its best, dust it regularly and treat the wood as needed to prevent wear and tear. Organize shoes by type or color for a visually pleasing and functional setup. Consider rotating shoes seasonally to maximize space and extend the life of your collection.
Conclusion
Building a DIY shoe rack is more than just a weekend project; it’s an opportunity to enhance your living space, showcase your personal style, and solve the all-too-common shoe clutter problem. With a bit of planning, some basic tools, and a dash of creativity, you can create a functional and stylish shoe rack that meets your needs and reflects your personality.
Call to Action
Now that you’ve seen how simple and satisfying building your own shoe rack can be, why not give it a try? Share your projects, tips, or any questions in the comments below. We love seeing your creations and hearing about your DIY adventures!